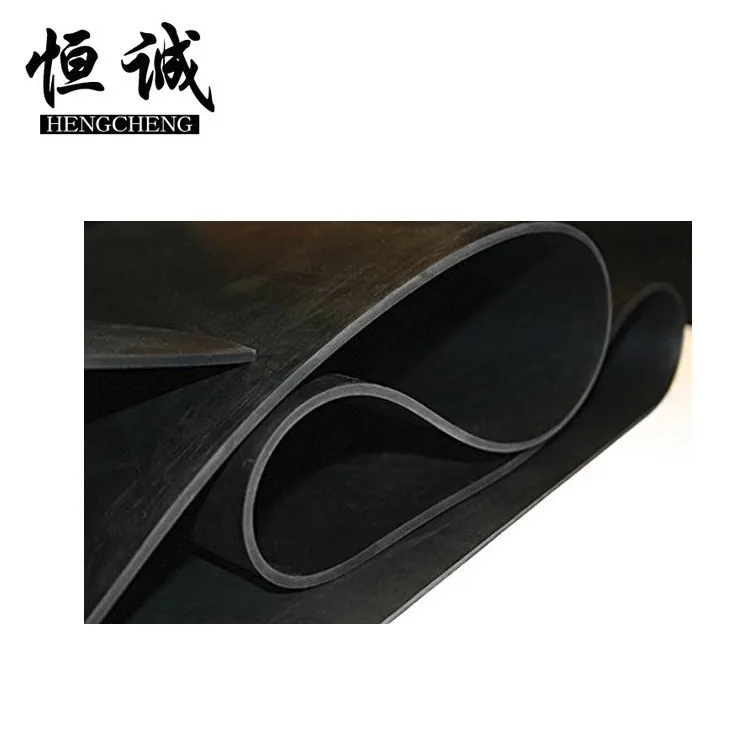
high quality shower seal strip installation
Lis . 06, 2024 19:01 Back to list
high quality shower seal strip installation
High-Quality Shower Seal Strip Installation
When it comes to maintaining the integrity and longevity of a bathroom, one crucial component often overlooked is the shower seal strip. This simple yet effective solution not only prevents water leakage but also contributes to a clean and polished look in your shower area. In this article, we’ll cover the importance of high-quality shower seal strips and provide a step-by-step guide for installing them effectively.
Why Choose High-Quality Shower Seal Strips?
Investing in high-quality shower seal strips is essential for various reasons. First and foremost, they are designed to withstand the continuous exposure to water, steam, and cleaning products. Cheaper alternatives often deteriorate quickly, leading to mold growth and the need for frequent replacements. High-quality strips, on the other hand, offer durability and superior performance, ensuring your shower remains leak-free.
Moreover, a well-installed shower seal strip can significantly improve energy efficiency by minimizing heat loss in your bathroom. This is particularly beneficial during colder months when maintaining a warm atmosphere is essential. Furthermore, high-quality materials often come with warranties, providing peace of mind regarding their longevity and effectiveness.
Tools and Materials Needed
Before you begin the installation, gather the following tools and materials - High-quality shower seal strip (ensure it fits your shower door or bathtub) - Measuring tape - Utility knife or scissors - Cleaning solution (isopropyl alcohol or vinegar) - Squeegee or cloth - Caulk (if necessary)
Step-by-Step Installation Guide
high quality shower seal strip installation

1. Measure the Area Start by measuring the length of the shower door or the bathtub edge where you’ll be installing the seal strip. It’s crucial to get accurate measurements to avoid any gaps.
2. Cut the Seal Strip Using the utility knife or scissors, cut the seal strip to match the measured length. Make sure to cut it straight to ensure a snug fit.
3. Prepare the Surface Clean the area where the seal strip will be installed. Remove any old caulk or seal remnants using a scraper. Once cleared, wipe the area down with a cleaning solution and allow it to dry completely.
4. Apply the Seal Strip Most high-quality shower seal strips come with a peel-and-stick adhesive backing. Carefully align the strip along the edge of the shower door or tub, pressing it firmly as you go. Ensure there are no air bubbles or spaces between the strip and the surface.
5. Secure with Caulk (Optional) For added security, especially in areas prone to moisture, you may want to apply a thin line of caulk along the edges of the seal strip. This can provide an extra layer of protection against water leakage.
6. Finalize the Installation Use a squeegee or cloth to smooth out the seal and remove any excess adhesive. Allow the seal strip to settle and adhere properly according to the manufacturer’s instructions.
Conclusion
Installing a high-quality shower seal strip is a straightforward process that can greatly enhance your bathroom experience. Not only does it prevent water damage and mold growth, but it also contributes to a more visually appealing space. By following the steps outlined above, you can ensure a lasting and effective installation, providing peace of mind and protection for your home. Remember, a little effort in sealing your shower today can save considerable trouble and expense in the future.
-
Factory price Replacement Karchers A2004 Wet & Dry Vacuum Cleaners Cartridge Filter
NewsJul.26,2025
-
Factory Hot Sale Recycled Green Elastic Profiles Wholesale Supplier
NewsJul.25,2025
-
Hi flo Oil Filter H F155 for KT M 250 EXC Racing 2003-2006, OEM Quality
NewsJul.24,2025
-
Top LED Neon Rope Light Outdoor Companies – Durable & Weatherproof Solutions
NewsJul.23,2025
-
Top Window Seal Strip Adhesive Companies for Quality Sealing Solutions
NewsJul.22,2025
-
HighTech Injection LED Module Size 6414 - Efficient, Durable Lighting
NewsJul.22,2025
