Seal Your Bathroom in Just 5 Easy Steps
მარ . 18, 2024 15:25 Back to list
Seal Your Bathroom in Just 5 Easy Steps
Note: This DIY article is provided as a general guide only and is not intended to take the place of product-specific installation procedures; always follow applicable manufacturers’ instructions. Depending on your home’s age and condition, location within the home, and other potential factors, repairs and/or upgrades or other services may be necessary prior to the beginning and/or completion of your project that may involve the services of a home improvement professional. This article does not include advice pertaining to local building codes and/or any related inspections.
It’s no secret that bathrooms are constantly exposed to moisture and humidity. For that reason, these areas can also be at risk for mold or mildew growth and water damage. But did you know using a sealant is an easy way to help protect bathrooms from these issues? Here are 5 easy steps to start you sealing DIY project.
- CHOOSE THE RIGHT BATHROOM CAULK OR SEALANT SO YOU DON’T HAVE TO DO THIS AGAIN AND AGAIN.
To stand up to the daily demands of a bathroom, you can choose either a 100% silicone, paintable silicone, or acrylic caulk or sealant.For surfaces most at risk of water exposure and mold growth, 100% silicone is ideal. Advanced Silicone 2™ Kitchen & Bath sealant is a 100% silicone sealant that is 100% waterproof with 10-year mold-free product protection1. It offers excellent flexibility and strong adhesion and can be water ready in 30 minutes2.If your project needs to be painted but is still at risk of water or humidity, you’ll need a paintable silicone. These products offer the durability and water resistance of a silicone as well as the paintable attributes of an acrylic latex. Paintable Silicone Supreme Kitchen & Bath sealant is 100% waterproof and offers 10-year mold-free product protection1. It is permanently flexible and paint-ready in 30 minutes3 to keep projects on schedule.If the surface will need to be painted but is seldomly exposed to moisture or humidity, consider siliconized acrylic latex caulks and sealants. Siliconized Advanced Acrylic Kitchen & Bath sealant is a paintable sealant offering waterproof protection, mold-resistance1, and exceptional flexibility. - CLEAN THE SURFACE.
Remove old sealant from your shower, bathtub, sink or countertop. Typically, it needs to be cut, scraped or chipped away from these areas using a utility knife, putty knife or painter’s multi-tool. To assure proper adhesion, remove soap scum and other residue from the surface prior to application. Thoroughly rinse the area with soap and wipe away excess water.TIP: Wiping the joint with alcohol or window cleaner ensures no soapy residue is left behind. - OPEN THE TUBE AND SEAL.
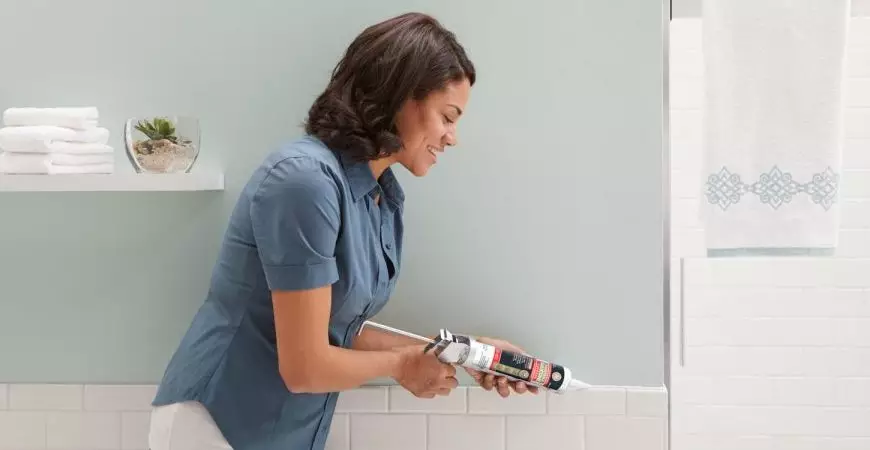
Cut nozzle of your bathroom cartridge to the desired bead size. Pierce inner seal with seal punch found on most caulk guns. Insert cartridge into caulk gun. Squeeze with even, consistent pressure to control the rate the sealant leaves the tube. After laying your bead of caulk, smooth sealant into the joint with a gloved fingerTIP: Apply masking tape or painter’s tape to either side of a joint to create a straight edge before applying caulk to your surface. - CLEAN UP.
Before caulk cures, wipe away excess sealant on surface, hands and tools with a dry cloth.Want to learn more DIY tips and tricks? Visit our Projects & How To’s page for more.
-
Karcher A2004 Vacuum Cartridge Filter Replacement - Durable & Efficient
NewsAug.03,2025
-
Karcher WD/MV HEPA Cartridge Filters | Dust Control Experts
NewsAug.02,2025
-
Top Window Seal Strip Adhesive Companies | Strong Weatherproofing
NewsAug.01,2025
-
Premium Oil Filter for Can-Am Outlander 2003-2017 420256188
NewsJul.31,2025
-
Hightech Injection LED Module size6414: Premium LED Lighting
NewsJul.31,2025
-
Factory Hot Sale Thin Silicone Sewn Strip Roll Wholesale, Durable & Flexible
NewsJul.30,2025

