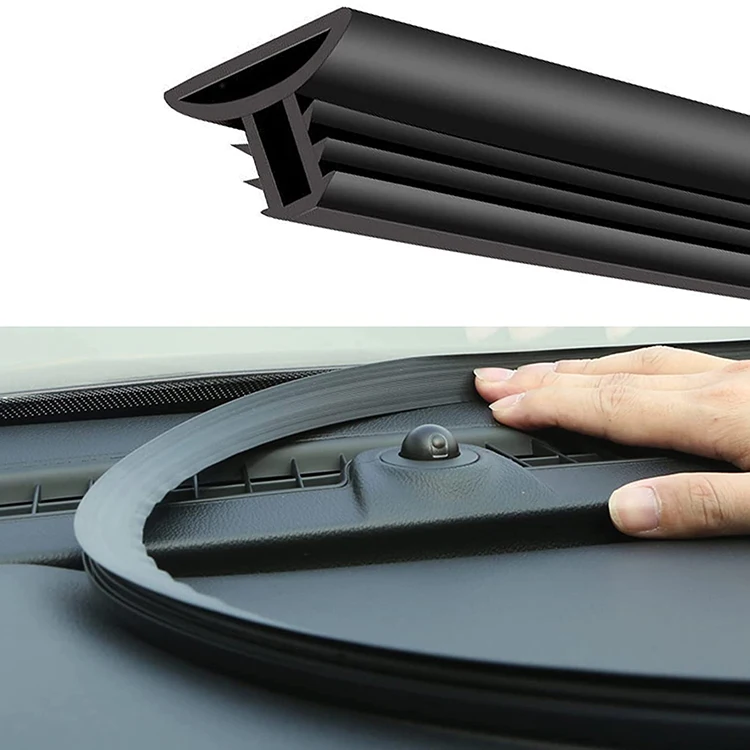
Guide to Installing Shower Seal Strips for CE Certification Compliance
Dec . 03, 2024 22:29 Back to list
Guide to Installing Shower Seal Strips for CE Certification Compliance
Installing Shower Seal Strips A Step-by-Step Guide for CE Certification Compliance
When it comes to maintaining a watertight seal in your shower, the importance of installing shower seal strips cannot be overstated. Not only do they help prevent leaks, but they also contribute to the longevity of your bathroom fixtures. This article will guide you through the process of installing shower seal strips, ensuring that your installation meets CE certification standards.
Understanding CE Certification
CE certification indicates that a product meets European safety, health, and environmental protection standards. For shower seal strips, this means they must be made from materials that are safe for use in wet environments and comply with relevant regulations. When purchasing seal strips, look for products that display the CE mark, ensuring they meet these essential criteria.
Tools and Materials Required
Before diving into the installation process, gather the necessary tools and materials
1. Shower Seal Strips Choose high-quality, CE-certified seal strips that fit your shower model. 2. Utility Knife or Scissors For cutting the seal strips to the desired length. 3. Measuring Tape To ensure precise measurements. 4. Cleaning Supplies Rubbing alcohol or a cleaning solution to prepare the surface. 5. Adhesive (if required) Some seal strips will need adhesive for a stronger bond.
Step-by-Step Installation Process
Step 1 Preparation
Start by cleaning the shower area where the seal strip will be installed. Remove any old sealant or residues using a scraper. After that, wipe the surface with rubbing alcohol to eliminate moisture and ensure a clean bond for the seal strip.
Step 2 Measure and Cut
Use the measuring tape to determine the length of the shower edge where the seal strip will be applied. It’s essential to measure accurately to avoid gaps or overlaps. Cut the shower seal strip using a utility knife or scissors, ensuring the cut is straight to ensure a tight fit.
ce cetification install shower seal strip

Step 3 Dry Fit
Before you peel off the backing or apply any adhesive, dry fit the seal strip in place. This gives you an opportunity to check that it fits properly and allows you to make any adjustments if necessary.
Step 4 Apply Adhesive (if needed)
If your seal strip requires adhesive, apply it evenly along the back. Follow the manufacturer’s instructions regarding the type and amount of adhesive to use. If your strip is self-adhesive, simply peel the backing off.
Step 5 Install the Seal Strip
Carefully position the seal strip along the edges of the shower, pressing it firmly into place. Ensure there are no gaps or air bubbles during the installation. If you encounter bubbles, use your fingers to flatten them out or a small roller to smooth the surface.
Step 6 Allow to Set
Once the seal strip is in place, allow it to set for the time specified by the manufacturer, especially if adhesive was used. This curing period is critical to ensure the strip bonds effectively to the surface.
Final Inspection
Once installed, check the seal strip for uniformity and integrity. Make sure there are no visible gaps that could lead to leaks. After the installation process, it's a good idea to run water in the shower to test for any potential leaks. If done correctly, your new shower seal strip should perform flawlessly, protecting your bathroom from water damage.
Conclusion
Installing shower seal strips is a straightforward process that can make a significant difference in preventing water damage. By following these steps and ensuring that your products are CE certified, you not only enhance the aesthetic of your bathroom but also ensure safety and compliance with European standards. Regular maintenance will further prolong the life of your shower seal strips, keeping your bathroom in top shape for years to come.
-
Premium Car Trim Strip - Top Car Moulding Trim Strip Exporters & 3 Car Moldings Manufacturers
NewsJul.08,2025
-
High-Quality Sponge Seal Solutions Leading Sponge Door Seal Manufacturer & Service
NewsJul.08,2025
-
U Shape Chrome Trim Strip Manufacturer & Exporter High-Quality Factory Products
NewsJul.07,2025
-
High-Quality LED Neon Light Supplier – Flexible & Color Changing Neon Strip Lights for Versatile Applications
NewsJul.07,2025
-
High-Quality White Transparent Silicone Strip Reliable Exporter & Factory Price
NewsJul.07,2025
-
Premium U Shape Chrome Trim Strip – Reliable Factory & Exporter for Automotive & Home Décor
NewsJul.06,2025
